Introduction: The Revolution of E-Scouting
Hunting has changed. Gone are the days when "scouting" meant walking blindly through the woods in July, sweating through your clothes, and leaving your scent all over the very bedding areas you were trying to find. Today, the most successful hunters do 90% of their work before their boots ever touch the ground.
This is the era of E-Scouting.
But having a map isn't enough. You need the right tools to interpret that map. Whether you are targeting whitetails in the Midwest, stalking elk in the Rockies, or chasing turkeys in the Southeast, the difference between a filled tag and "tag soup" often comes down to preparation.
In this comprehensive guide, we are going to deep-dive into HuntLease Scouting Tools. We won't just list features; we will show you exactly how to use them to dissect a property, play the wind, and outsmart game.
The 3 Pillars of Modern Scouting
Before we dive into the specific tools, it is crucial to understand the philosophy behind them. Modern scouting relies on three pillars:
- Identification: Locating key features (bedding, food, water).
- Organization: Cataloging this data so it doesn't get lost.
- Analysis: Using data (wind, terrain) to predict movement.
HuntLease is built to handle all three.
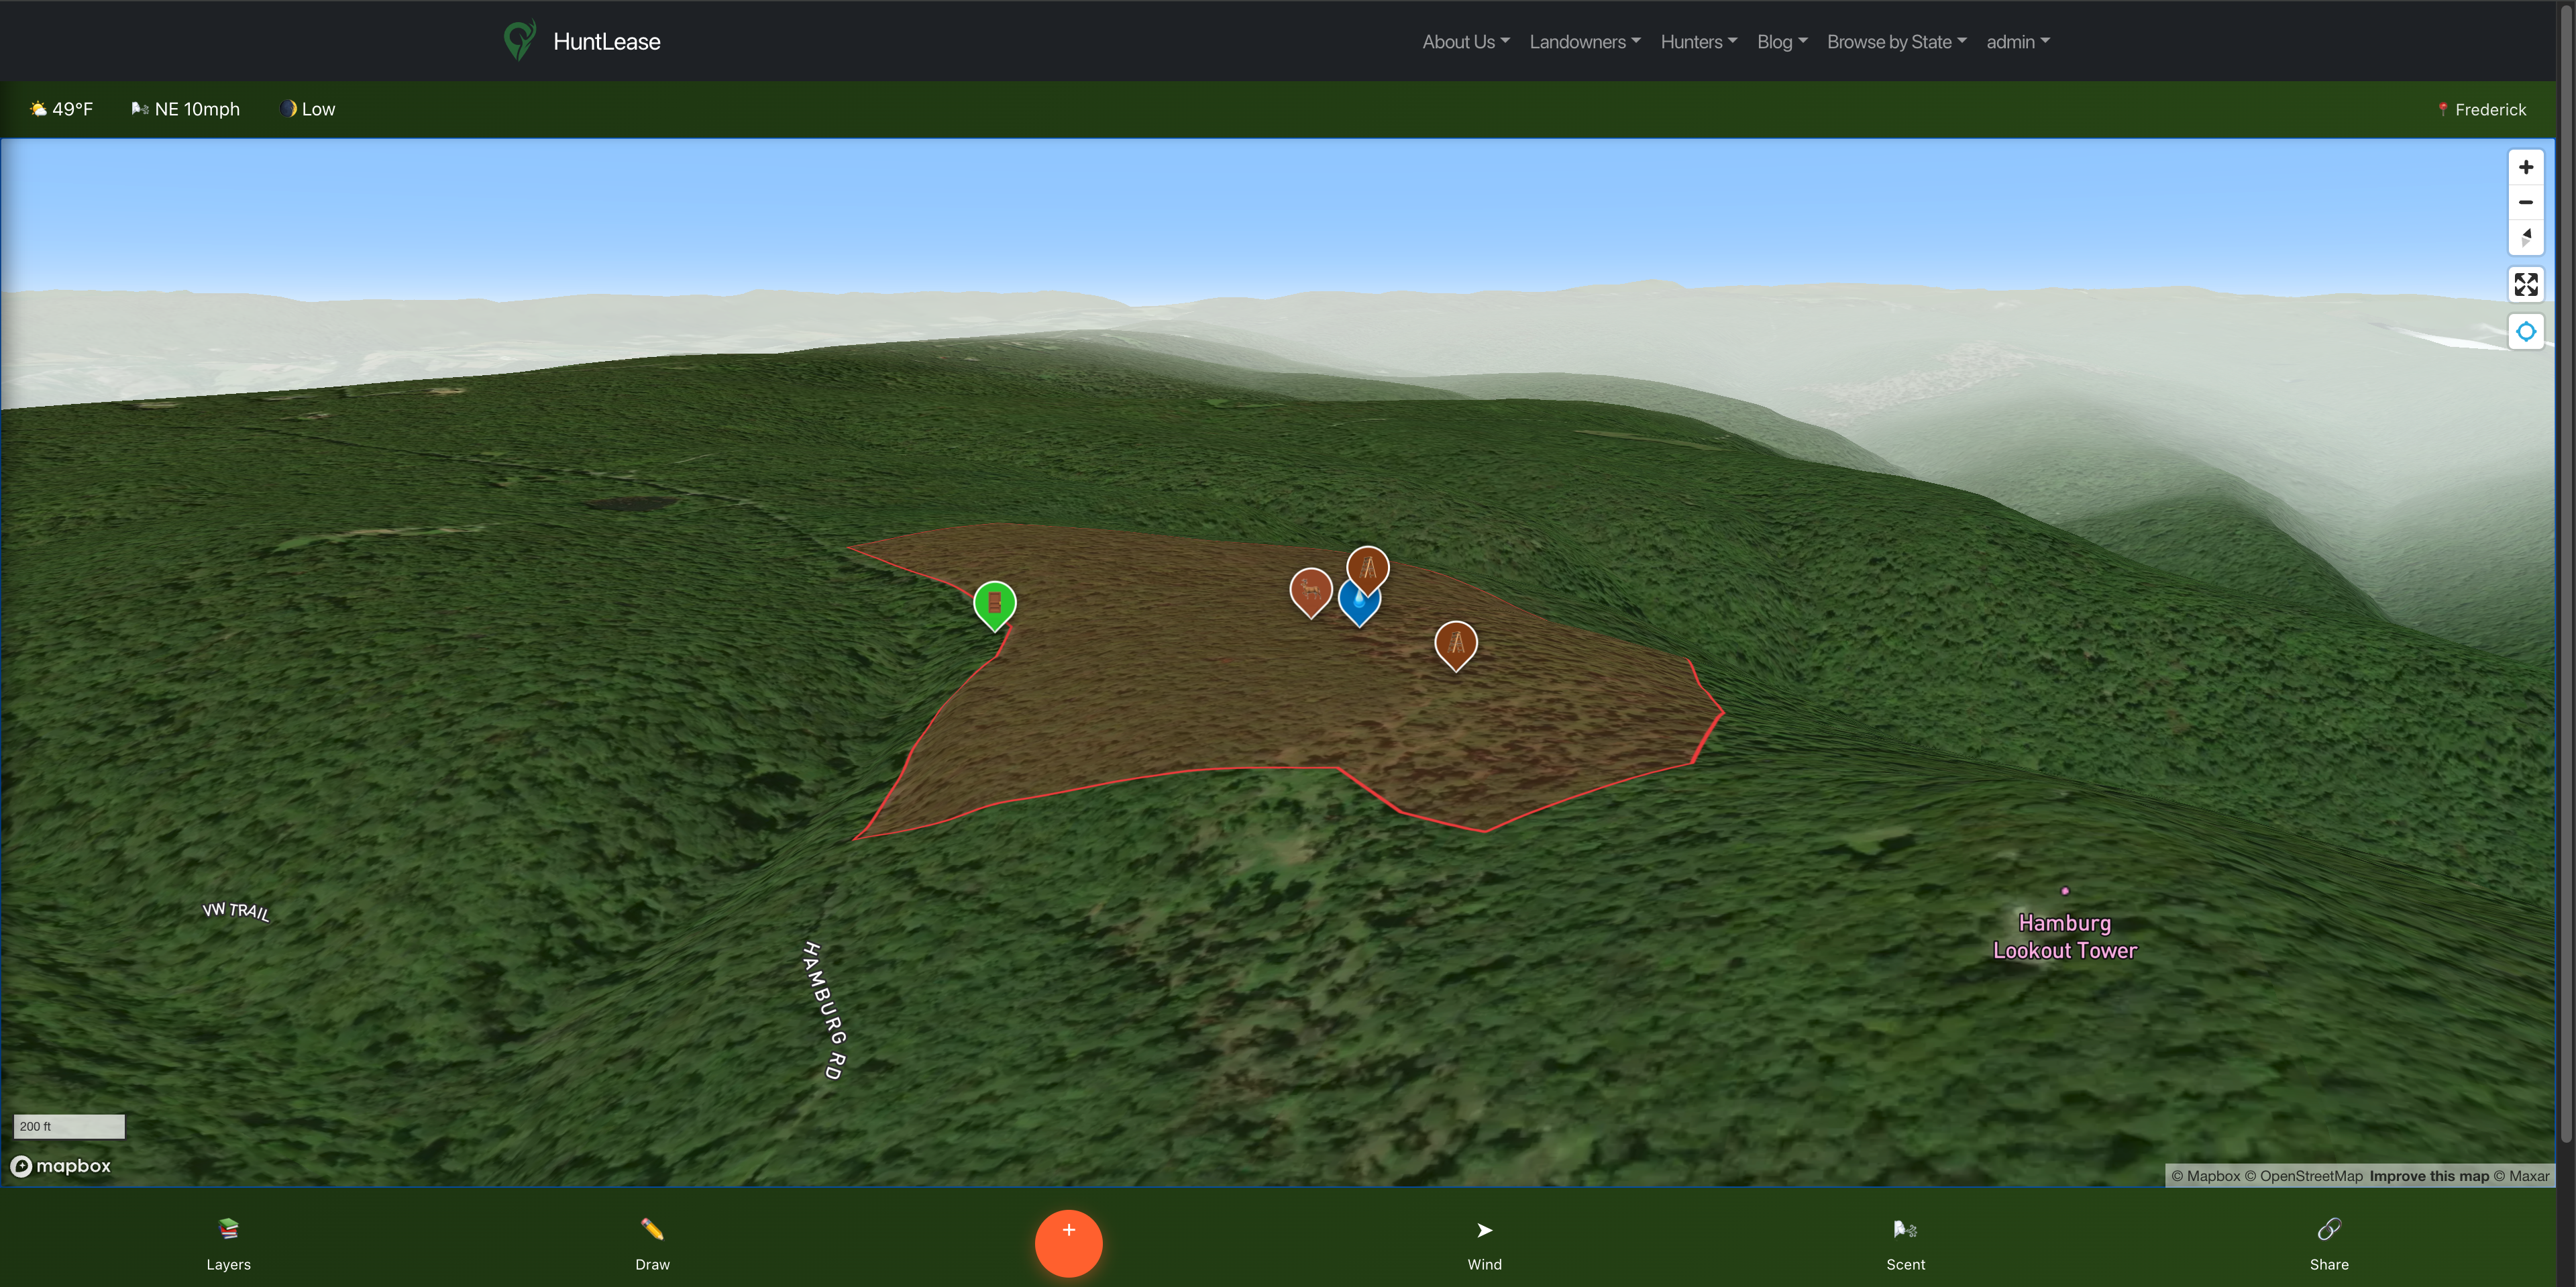
Feature Deep Dive: The Custom Marker System
Most basic mapping apps give you a generic "pin." Maybe you can change the color if you're lucky. But when you're managing a 500-acre lease or analyzing public land, a red dot isn't enough information.
HuntLease offers 14+ specialized hunting icons. Here is how to use them strategically:
1. The "Core" Markers
- Tree Stands & Ground Blinds: Don't just mark where the stand is. Use the notes section to mark the type of stand (ladder, hang-on, climber) and the date it was last checked for safety.
- Trail Cameras: Mark your cameras to visualize your surveillance grid. Pro Tip: Number your cameras in the notes (e.g., "Cam #4 - Creek Bottom") so you can match SD cards to locations easily.
2. The "Sign" Markers
- Rubs & Scrapes: A single rub doesn't tell a story, but a line of rub markers does. Use these to trace buck travel corridors. If you see a cluster of Scrape markers appearing year after year in the same spot, you've found a "community scrape"—a prime spot for a camera.
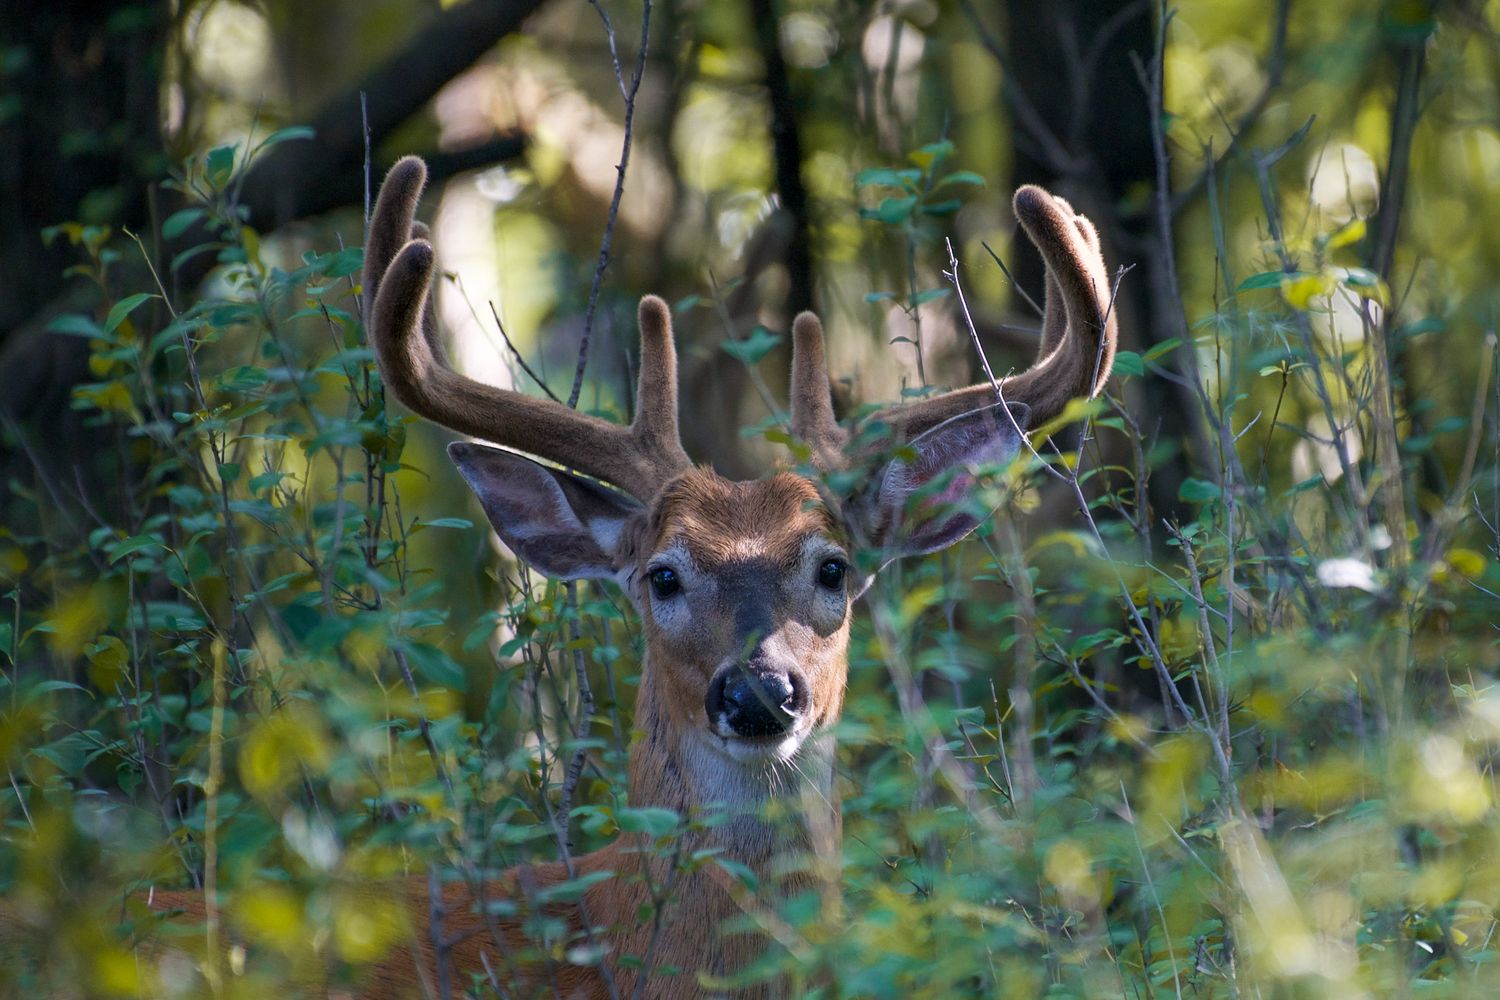
- Bedding Areas: This is the most dangerous marker to place. You rarely want to go in here. Mark these based on heavy cover you see on satellite imagery, and verify them only once a year during post-season scouting.
3. The "Resource" Markers
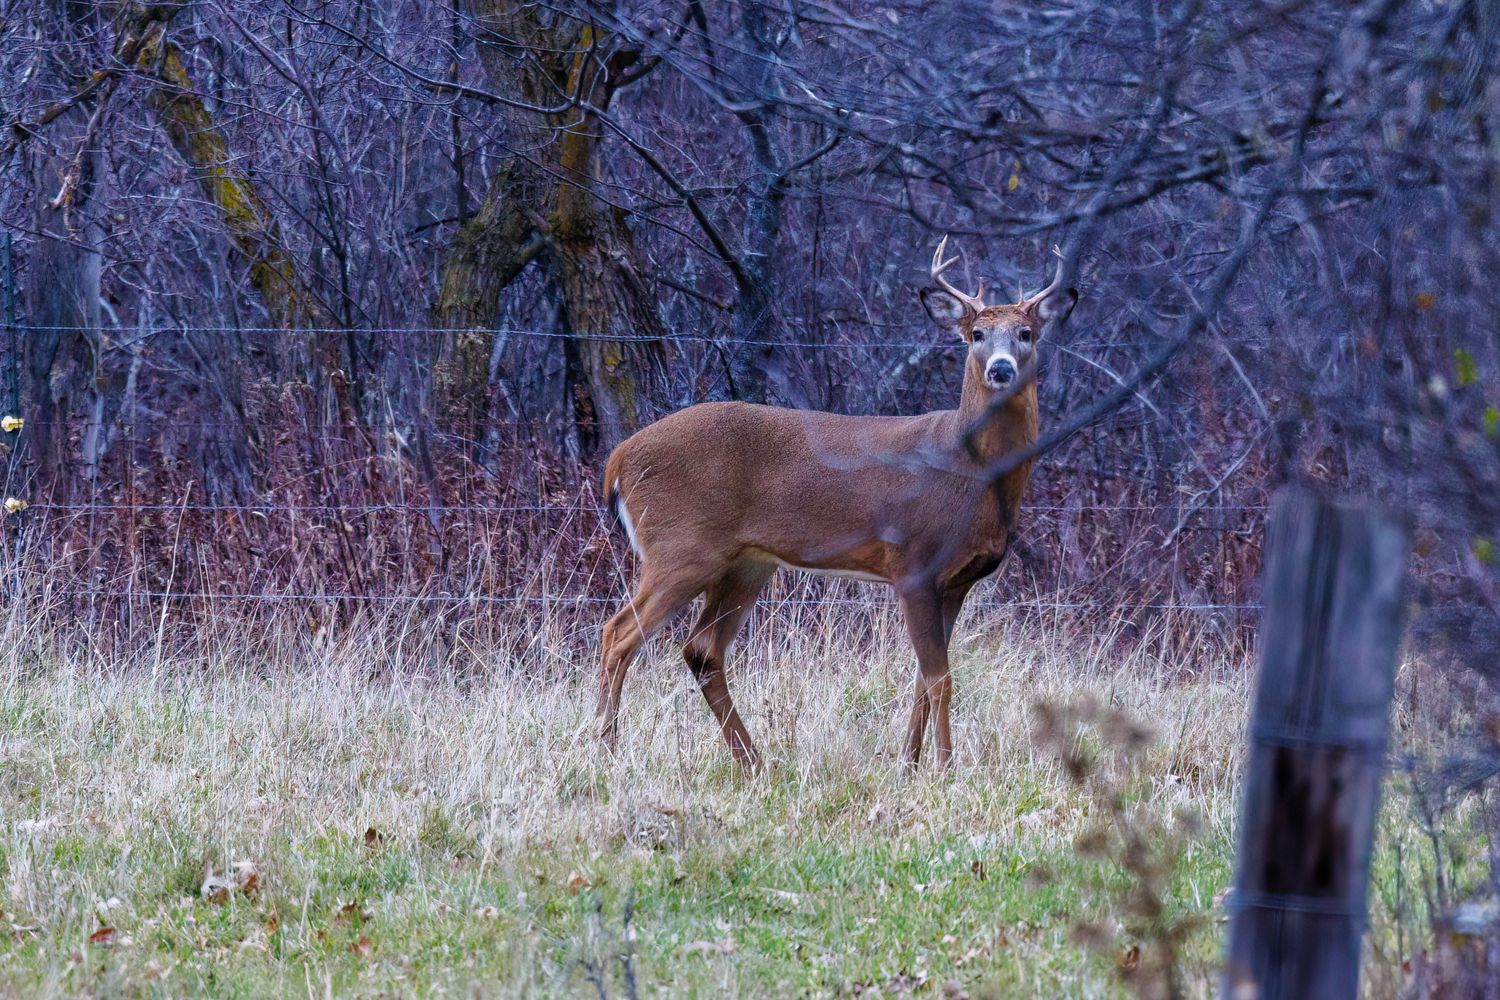
- Food & Water: Deer need three things: Food, Water, and Cover. By marking food (green fields, oak flats) and water sources, you can triangulate where the movement will happen between them and the bedding areas.
Wind Direction Overlay: The Invisible Factor
You can have the best spot in the county, but if the wind is wrong, the woods will be empty before you even climb the tree. Wind is the invisible wall that stops hunters.
The HuntLease Wind Direction Overlay pulls real-time meteorological data to visualize air movement across your specific property.
Why "General" Forecasts Fail
Your local weather app gives you the wind direction at the airport, which might be 20 miles away. It doesn't account for how wind flows across your terrain. While our overlay shows the prevailing wind, it allows you to visualize how that wind hits your stand locations relative to where you expect the deer to be.
Strategic Use Case: The "Just-in-Time" Decision
Imagine it's 5:00 AM. You're drinking coffee at the truck.
- Plan A: The Creek Bottom Stand.
- Plan B: The Ridge Top Stand.
You check HuntLease. The wind overlay shows a NNE wind. You look at your map: A NNE wind at the Creek Bottom Stand blows your scent right into the bedding area you marked last week. The Ridge Top Stand, however, carries your scent off a cliff where deer can't travel. Decision made. You just saved your hunt.
Scent Cone Analysis: Visualizing Your Impact
Taking wind direction a step further, HuntLease introduces Scent Cone Analysis. This isn't just an arrow; it's a visualization of your "danger zone."
How It Works
The Scent Cone tool uses wind speed and direction to project a cone from your selected stand.
High Winds: The cone narrows and extends further.
Low/Variable Winds: The cone widens, representing the "sloshing" of scent in calm air.
How to Use It
Before you hunt, toggle the Scent Cone on your target stand. Look at where the cone falls. Does it intersect with a known Trail marker? Does it brush against a Bedding Area marker? If the answer is yes, that stand is burned. Pick another.
Zone Management: dividing to Conquer
One of the biggest mistakes hunters make on private land is over-pressuring a single area. Zone Management solves this.
The "Sanctuary" Strategy
Use the Zone Boundary tool to draw a "Sanctuary" in the thickest cover of your property. Fill it with a red color. This is a "No Go" zone. By marking it clearly, you and your hunting partners know never to cross that line, ensuring deer feel safe staying on your property.
Rotational Grazing... for Hunters
Divide your property into Zone A, Zone B, and Zone C.
Week 1: Hunt Zone A.
Week 2: Hunt Zone B, let A rest.
This keeps the deer guessing and prevents them from patterning you.
Step-by-Step Guide: E-Scouting a New Property
So, you've just leased a new property on HuntLease. Here is your 30-minute e-scouting workflow:
- Import Boundaries: Use the property boundary integration to see your limits.
- Toggle Satellite View: Look for transitions. Where do hardwoods meet pines? Where do fields meet swamps? Mark these edges as potential Travel Corridors.
- Identify "Desire Lines": Zoom in. Can you see faint white lines in the grass or mud? Those are deer trails. Mark them.
- Locate Access: This is critical. How will you get in? Mark Entry Points that allow you to access stands without walking through food plots or bedding areas.
- Set "Hypothesis" Stands: Drop Tree Stand markers where you think you want to hunt. In the notes, write "Requires ground check."
- Check the Wind: Toggle the wind overlay. Eliminate any stands that are impossible to hunt on prevailing winds.
Frequently Asked Questions (FAQ)
Q: Can I share my maps with my hunting lease members?
A: Yes! The Pro tier allows for selective map sharing. You can share safety zones and parking areas without giving away your secret rut stand location.
Q: Does the wind overlay work without cell service?
A: The wind overlay requires a data connection to pull real-time weather data. However, your markers and boundaries are cached for viewing.
Q: Is this better than Google Maps?
A: Absolutely. Google Maps is designed for cars, not hunters. It lacks detailed terrain tools, scent analysis, specialized markers, and the ability to draw custom zones. HuntLease is purpose-built for the outdoors.
Conclusion: Success Favors the Prepared
Hunting is a game of variables. You can't control the weather. You can't control the neighbors. But you can control where you sit and how you approach. HuntLease Scouting Tools give you the control back.
By visualizing your property, tracking your sign, and respecting the wind, you stop hoping for luck and start manufacturing success.